Sourdough Baking Temperature: The Science of Crust and Spring
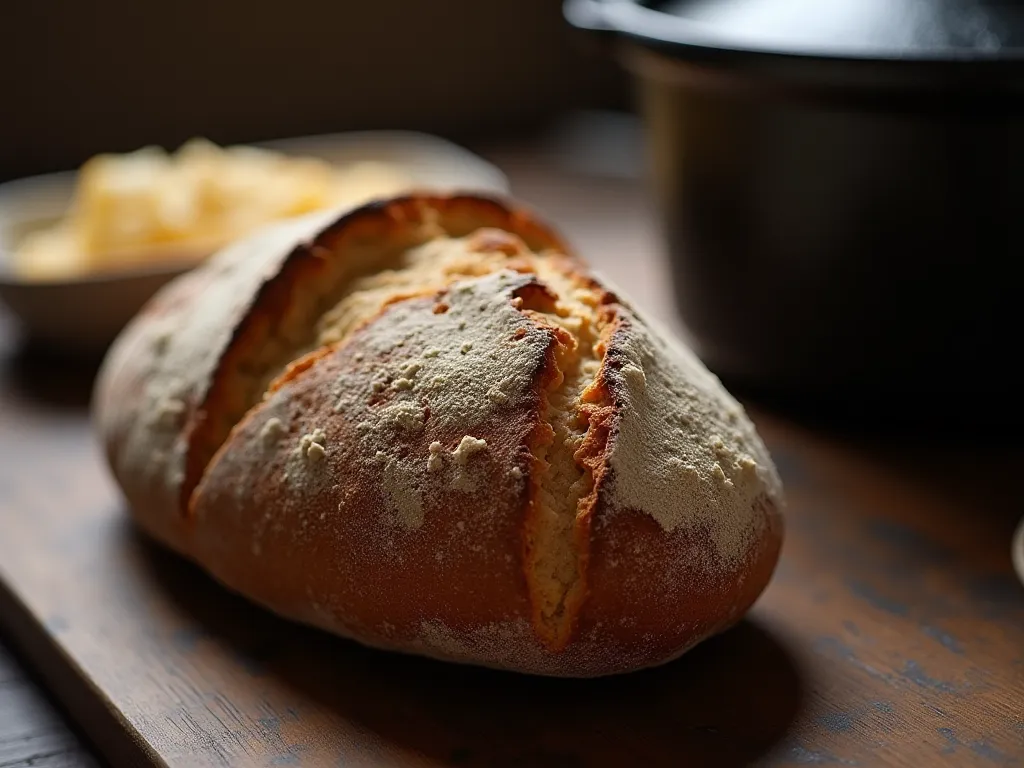
Most home bakers using a Dutch oven should preheat to 500°F (260°C) — that's where you get the most steam retention. If your oven runs hot, or you're the type who worries about burning, 450°F (232°C) is fine. Here's why it works: conductive heat transfer from the vessel walls drives initial expansion faster than convective air heating ever could.
Home ovens are imprecise instruments. Thermostats cycle on and off, so internal air temperatures swing significantly around whatever you set on the dial. Which means the radiant heat hitting your loaf is rarely constant. Rely solely on a digital readout and you're ignoring those real-time shifts in thermal energy.
A heavy vessel like cast iron changes the dynamic entirely. Preheat a Dutch oven and the metal absorbs and stores vast amounts of latent heat, independent of the surrounding air. That stored energy delivers an immediate, intense burst the moment raw dough contacts it. Surface temperature drops slightly on contact — but stays high enough to flash-boil moisture instantly.
This initial thermal shock is what drives oven spring. Rapid gas expansion happens within the crumb before the gluten structure can set and lock in place. A lower air temperature cannot compensate for a lack of direct conductive heat. The goal isn't to maintain some ambient room temperature. It's to deliver peak surface energy during the first few minutes of baking.
The Physics of Oven Spring
Steam-Driven Expansion Mechanics
The primary driver of volume is the phase change of water within the crumb. As surface temperature spikes, moisture trapped in the dough matrix rapidly converts to steam. That expansion forces existing gas pockets larger against the resisting gluten network. And the energy input has to be sufficient to overcome the viscosity of the liquid starch and protein solution.
Timing the Structural Set
Heat intensity determines when the dough transitions from a plastic state to a solid structure. A slower heating profile lets surface proteins coagulate and starches gel early, creating a rigid shell that restricts further rise. Aggressive heat, conversely, keeps the interior pliable longer while gases expand maximally.
Baking at higher temperatures of 475°F - 500°F (246°C - 260°C) can result in better oven spring and quicker bake times — but it increases the risk of burning or setting the crust too quickly. This thermal window balances maximum volumetric gain against premature structural locking.
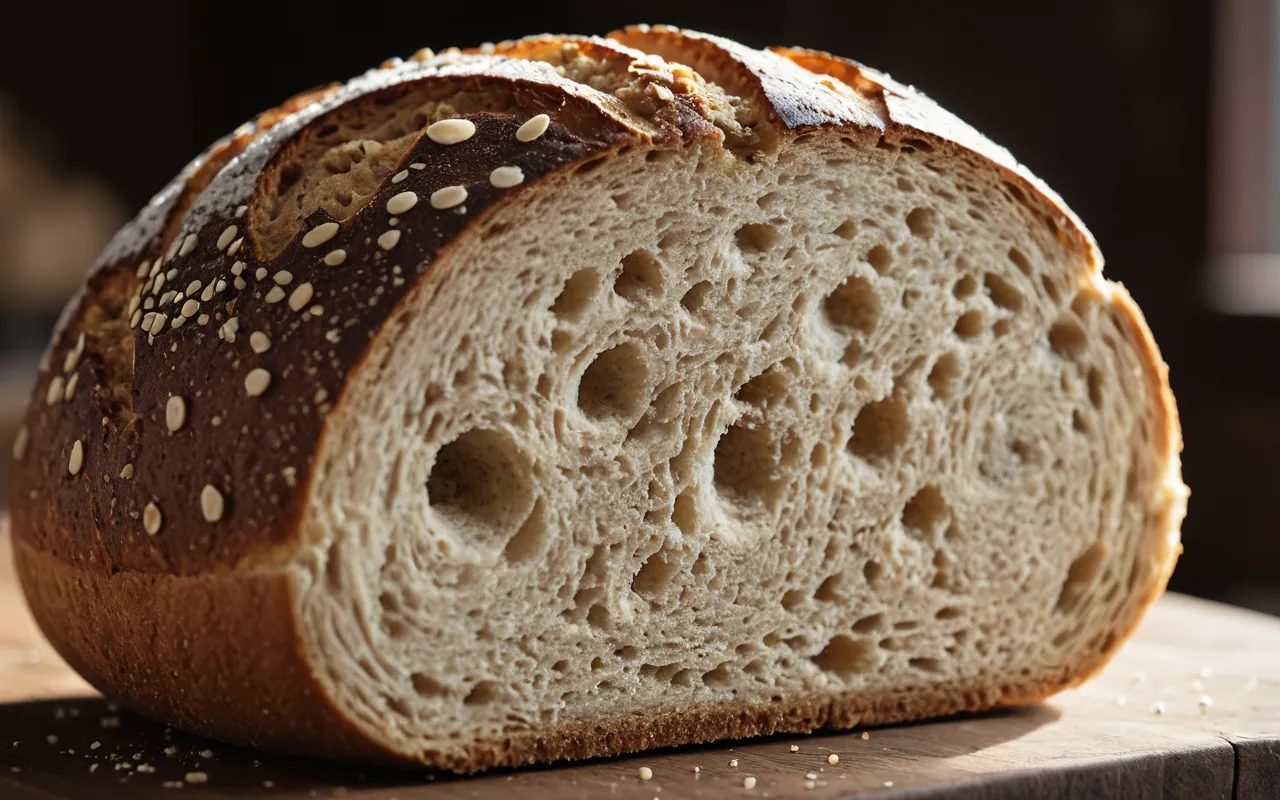
The visual outcome reflects that trade-off directly. Loaves baked at peak heat show greater height and open crumb structure, thanks to delayed setting. But the same intensity that drives vertical growth accelerates browning on contact surfaces.
Home ovens often struggle to hold this level of radiant energy without significant fluctuation. The result? A loaf that may under-spring if the oven can't sustain heat — or one with a charred bottom if the floor element overcompensates.
Managing Scorch Risk in Cast Iron
The Safe Thermal Boundary
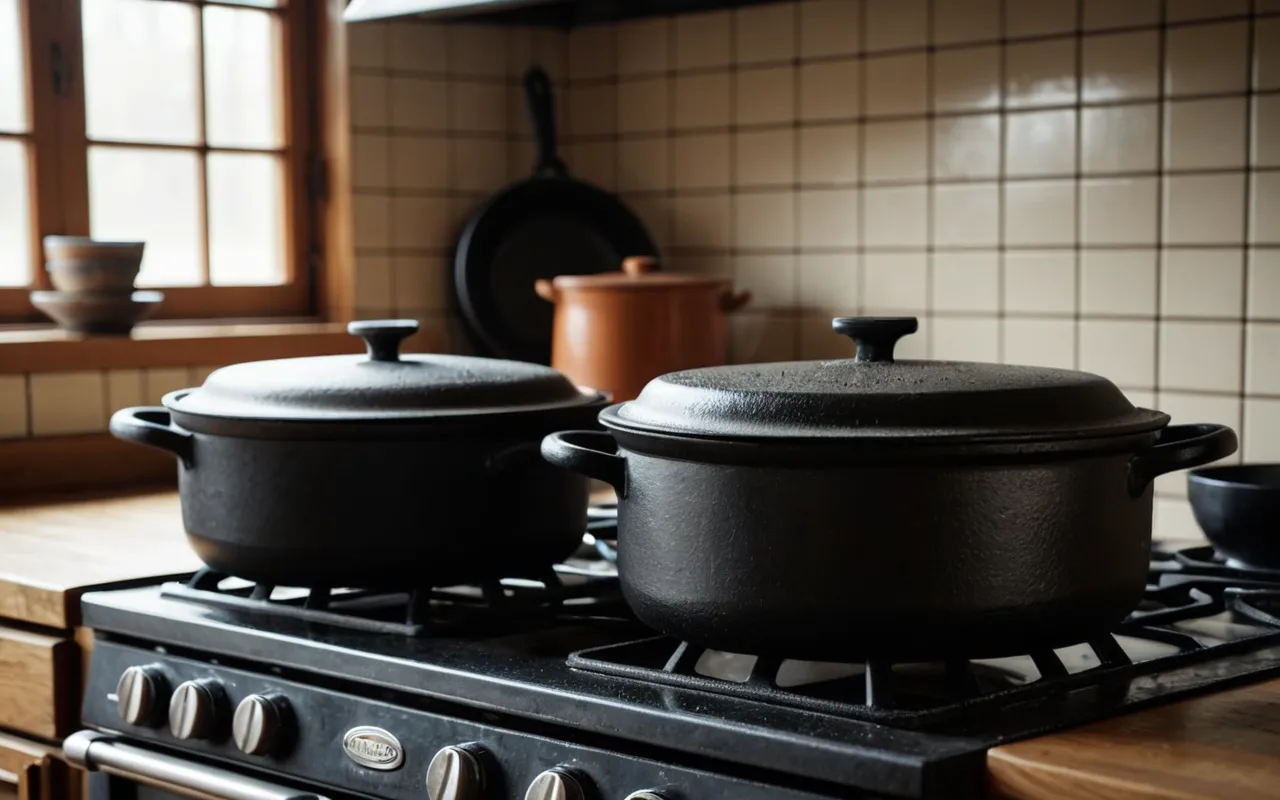
Cast iron retains heat aggressively, creating a microenvironment that can exceed the oven's ambient temperature. To protect parchment liners and ceramic lids from thermal shock or degradation, 450°F (232°C) serves as a practical ceiling for sustained baking.
Baking within this range reduces the likelihood of burning the loaf's base while keeping equipment components safe. This threshold balances the need for rapid crust formation with the structural limits of common home kitchen tools.
Preheat High, Bake Lower
You can bypass this limitation by preheating the vessel to a higher temperature than the final bake. Heat the pot and stone to 475°F or even 500°F, and you store significant thermal energy in the iron itself.
When you load the dough, immediately drop the oven setting to 450°F. The stored heat drives initial steam production and oven spring, while the lower ambient temperature prevents scorching during the longer bake phase.
Preheating hotter than baking allows you to drop the temp after loading, preserving spring without scorching.
Protecting Sensitive Cookware
This protocol also safeguards non-stick coatings and lighter-weight vessels that can't withstand prolonged exposure to extreme heat. Sustained high temperatures can warp thin bases or degrade polymer linings over time.
By capping the baking phase at 450°F, you maintain a consistent margin of safety for all cookware types. This approach ensures reliable results without risking permanent damage to your equipment.
Internal Temperature as a Doneness Signal
Relying on the timer often leads to inconsistent results, because oven calibration varies significantly between models. A reliable doneness signal is an internal temperature of 205°F (96°C) for lean sourdough loaves. That specific reading indicates the starches have fully gelatinized and the protein structure has set firmly.
Probing at this temperature confirms that moisture distribution is stable throughout the crumb. The center of the loaf reaches thermal equilibrium with the outer crust, ensuring a uniform texture rather than a dense core surrounded by dry edges. This state means the biological activity has ceased and the structural integrity is locked in.
Pull the bread too early and you get a gummy center, because residual heat keeps cooking the interior after removal from the oven. The trapped steam needs time to escape and redistribute — a process that stalls if the crumb is undercooked. Waiting for the 205°F mark prevents this by ensuring the internal matrix has solidified enough to support its own weight.
Flavor Chemistry at Different Heats
The Maillard reaction drives the chemical changes that define sourdough flavor, converting amino acids and reducing sugars into new aromatic compounds. Higher oven temperatures accelerate this rapidly, intensifying nutty and roasted notes within minutes of baking. That speed creates a strong contrast between the deeply browned exterior and the moist interior — but it demands precise timing to prevent bitter overtones from developing in the crust.
Lower temperatures slow down browning, allowing heat to penetrate more evenly before surface sugars caramelize. This approach yields a paler crust with milder flavor profiles and less aggressive textural contrast. The result is a loaf that emphasizes the inherent tang of the ferment rather than the intense complexity of high-heat chemistry — a gentler eating experience, for those who prefer subtlety.
Choosing between these outcomes depends on the desired aesthetic and sensory impact. A dark rustic crust requires aggressive heat to achieve deep coloration quickly, as seen when baking at high temperatures produces significantly darker bottoms than lower settings. Conversely, a pale artisanal loaf benefits from slower browning that preserves lighter tones while still ensuring structural integrity through sufficient internal cooking time.
Frequently Asked Questions
Should I preheat my Dutch oven with the lid on or off?
Always preheat your Dutch oven with the lid securely in place. This ensures the entire vessel reaches the target temperature, which is critical for maximizing initial heat transfer to the dough. A properly heated pot creates the intense thermal shock needed for optimal oven spring and crust formation.
Does baking at a lower temperature make sourdough denser?
Baking at lower temperatures can result in a flatter loaf with reduced volume. Why? The slower heat transfer limits the rapid expansion of gases during the critical early stages of baking. Consequently, the crust sets more gradually rather than trapping the expanding structure effectively.
What happens if my home oven cannot reach 500°F?
You can still achieve excellent results by increasing your bake time by 15-20 minutes and using steam injection (if available) to compensate for lower radiant heat intensity. Baking at slightly cooler temperatures reduces the risk of burning and keeps equipment within safe limits, though it may extend total bake time. You might also need to monitor internal temperature closely to ensure proper doneness.