Sourdough at Home: The Complete Beginner to Master Guide
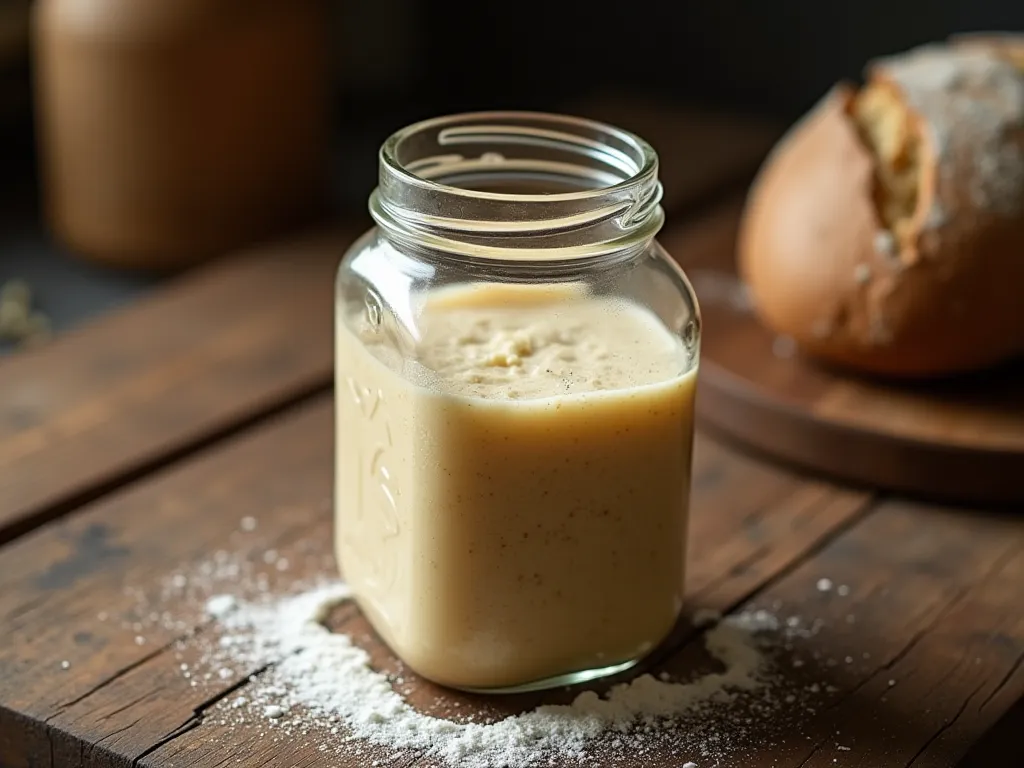
Making sourdough bread at home begins with maintaining a live culture of flour and water that leavens dough without commercial yeast. This starter requires equal parts by weight for stable maintenance, creating a predictable environment for the wild yeast and bacteria to thrive.
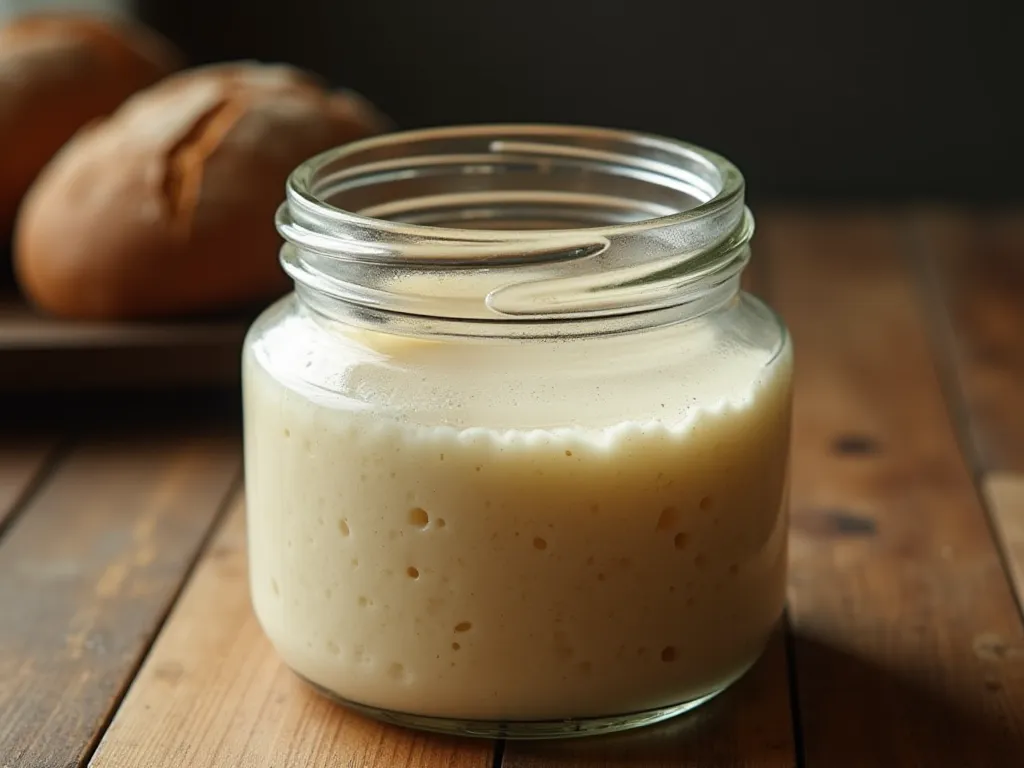
Instead of relying on fixed timestamps, assess readiness through visible volume changes. A healthy culture is ready when it doubles or triples in size within four to eight hours after feeding. This physical expansion confirms peak biological activity and sufficient leavening power for baking.
For periods without frequent baking, shift the routine to refrigerated storage. Keep the container sealed in a cold environment and feed the starter once every two or three weeks. This slow metabolism preserves viability while minimizing daily maintenance efforts.
Hydration Science: Choosing Your Dough Texture
Hydration percentage dictates the physical behavior of your dough and determines how much hands-on work you must perform. A tight loaf at sixty-five percent water feels like stiff clay, resisting stretching and requiring vigorous mechanical kneading to develop structure. In contrast, an eighty percent bake behaves more like thick batter, sliding easily in its container but demanding gentle folding techniques to build strength without tearing the gluten network.
Before adding salt and starter, mix flour and water completely. This autolyse phase allows enzymes to break down proteins naturally while starches absorb liquid. Resting this mixture for at least thirty minutes jumpstarts gluten development without any manual kneading. The dough becomes extensible on its own, saving muscle strain and reducing the risk of overworking delicate high-hydration textures.
Water Composition
Tap water mineral content directly influences yeast activity and dough strength. Heavy chlorine levels can inhibit microbial growth, while high mineral concentrations may accelerate fermentation unpredictably. Using filtered or bottled water provides a consistent baseline for testing recipe adjustments.
Temperature Interaction
Ambient temperature modifies how quickly the dough rises regardless of hydration levels. Warmer kitchens accelerate enzymatic activity, shortening fermentation windows and increasing acidity faster than cooler environments allow. Monitor your specific kitchen conditions rather than relying on universal timestamps to ensure proper flavor development.
Selecting the right hydration level matches your available time and physical comfort with sticky doughs. Beginners often succeed better with lower percentages that offer structural forgiveness during shaping. As handling skills improve, increasing water content yields softer crumb structures with larger air pockets.
Bulk Fermentation: Reading the Dough, Not the Timer
Defining the Volume Endpoint
Stop measuring bulk fermentation by time and start measuring it by volume. The dough should expand until it has increased by 50% to 75% in size, rather than doubling as with commercial yeast breads. This specific range ensures the gluten network remains strong enough to hold gas bubbles during the subsequent shaping phase.
Visual cues replace timers because ambient conditions vary wildly between kitchens. A warm summer room accelerates microbial activity, while a cool winter setting slows it down significantly. You must observe the dough's physical state to determine readiness rather than adhering to static timestamps.
Adjusting for Ambient Temperature
Temperature is the primary variable dictating fermentation duration. At 80°F (26°C), the process moves quickly, often completing in just 3–4 hours. In contrast, cooler environments around 68°F (20°C) require much longer waits of 6–8 hours for the same level of rise to occur.
This variability means you cannot rely on a single recipe timeline across different seasons or locations. A starter active in heat will outpace one in cold, changing how quickly bubbles form and expand within the dough matrix.
Building Structure Through Folding
Use the waiting period to strengthen the gluten network physically. Perform a series of stretch and folds at regular intervals during this phase, pulling one side of the dough up and over itself before rotating the bowl. This mechanical action aligns protein strands without degassing the loaf.
These folds create the internal tension necessary to support the bread's shape later on. They also distribute yeast cells evenly throughout the mass, promoting consistent bubble formation. The dough should feel smooth and elastic after these manipulations rather than slack or sticky.
The goal is a lively but manageable dough that holds its shape when lifted gently from the bowl.
Shaping for Structure: Creating Surface Tension
Pre-shaping relaxation allows the gluten network to rest and relax after initial mixing. During this phase, gently round the dough into a loose ball without applying significant force. This step prevents tearing when you apply stronger tension later.
Final shaping requires active manipulation to create surface tension. Stretch and fold the dough against itself using your palms or fingers, tightening the outer skin. The goal is a smooth, taut exterior that feels resistant to gentle pressure.
Proper surface tension acts as a structural cage for internal gases. Without this tightness, dough spreads outward on the baking surface instead of rising vertically. This lateral spread flattens the crumb and reduces oven spring significantly.
Distributing Gas Bubbles
Folding techniques during shaping redistribute trapped carbon dioxide evenly. Large, uneven bubbles create weak spots in the crumb structure. Consistent distribution ensures uniform expansion and a stable loaf geometry.
Check your tension by pressing lightly into the dough side. It should spring back slowly rather than staying indented. This elasticity confirms that gluten strands are aligned and ready to support weight during proofing.
Home Oven Physics: Steam and Heat Management
Commercial ovens inject steam to delay crust formation, allowing the dough to expand fully before the surface hardens. A cast iron Dutch oven replicates this by trapping moisture released from the high-hydration dough itself. This trapped vapor keeps the crumb soft and elastic during the critical initial minutes of baking.
The thermal mass of cast iron plays a decisive role in heat stability. Unlike thin steel pans that cool rapidly when cold dough contacts them, heavy enameled pots retain intense heat effectively. This consistent temperature shock creates the rapid gas expansion necessary for maximum oven spring and an open crumb structure.
The Two-Stage Baking Protocol
Preheat the empty Dutch oven with its lid on until it reaches 450°F. This preheating step ensures the vessel holds enough heat energy to drive immediate fermentation upon contact with the dough.
Carefully transfer the shaped loaf into the hot pot and replace the lid immediately. Bake covered for twenty-five minutes at 450°F. The enclosed environment maintains high humidity, preventing the crust from setting too early and allowing the interior to rise fully.
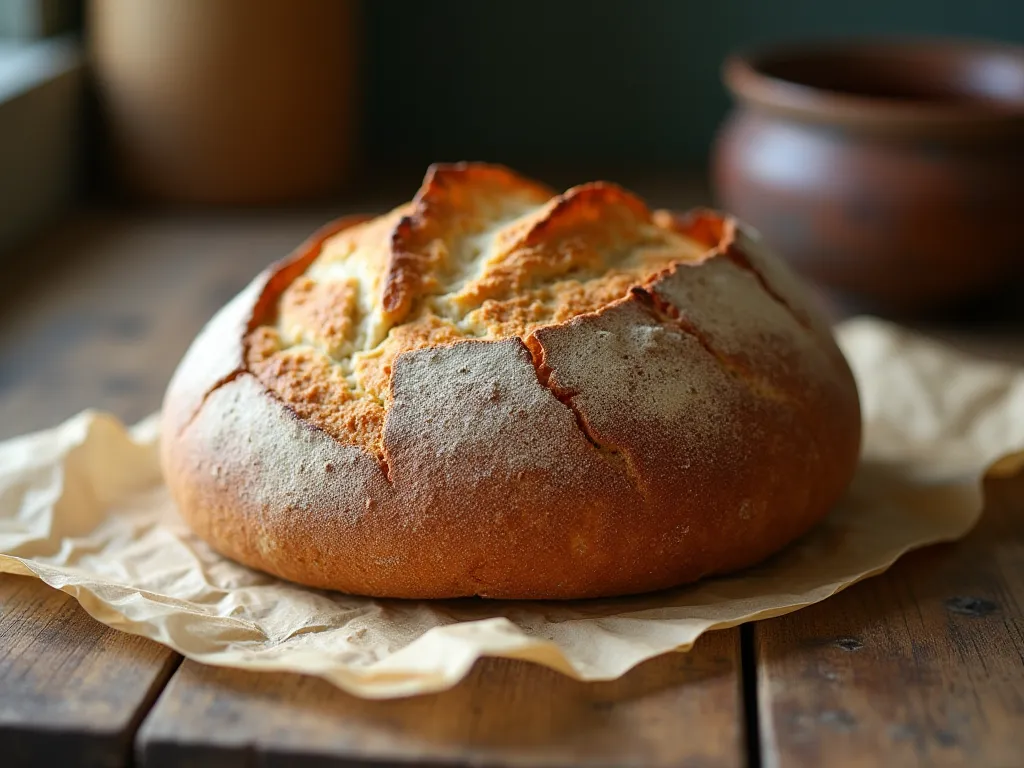
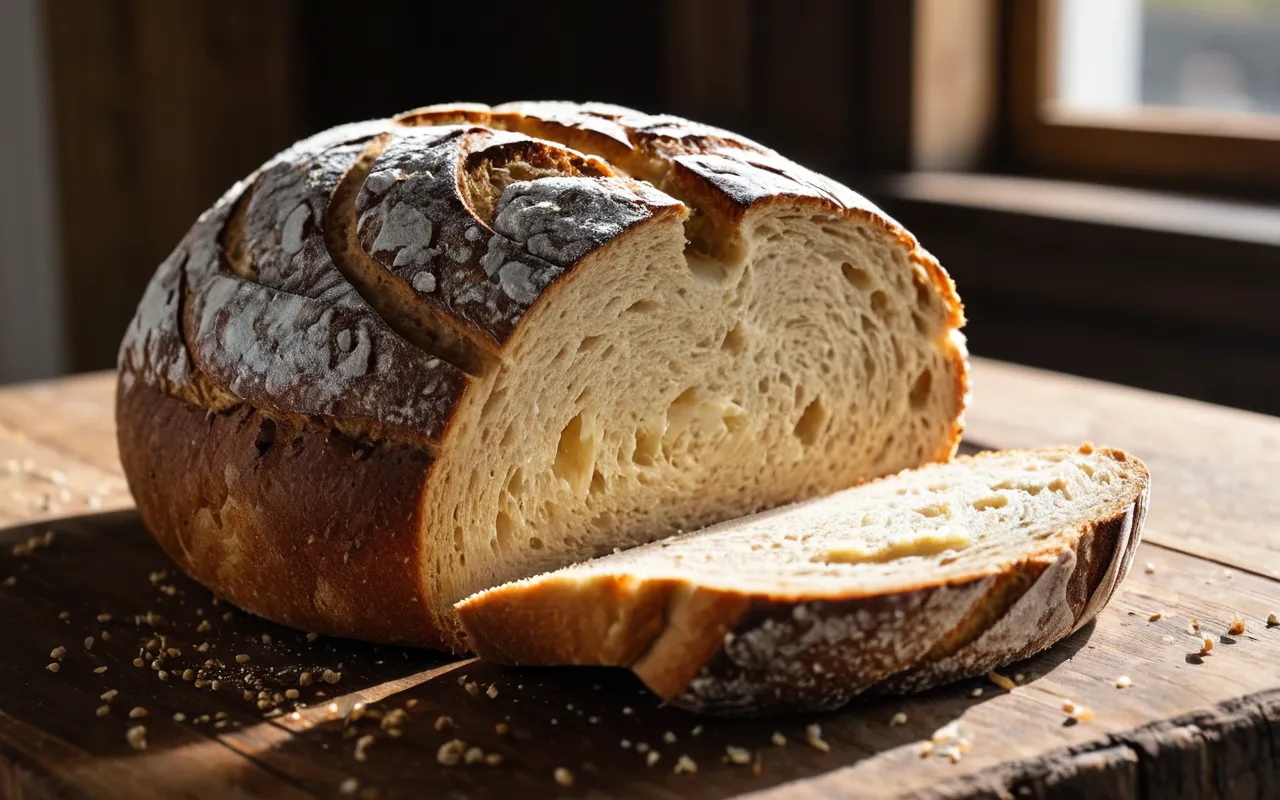
Remove the lid after this initial phase to expose the bread to dry heat. Lower the oven temperature slightly if necessary, but continue baking for another fifteen to twenty minutes until the crust achieves a deep golden brown coloration. This final stage dries the surface, creating the characteristic blistered texture and audible crispness of professional sourdough.
Troubleshooting Common Failures: Diagnosis and Repair
A dense loaf with a tight crumb usually indicates insufficient bulk fermentation time rather than weak yeast activity. The dough likely lacked the window needed for gas production and gluten relaxation before shaping. Extend the bulk phase by thirty minutes in cooler environments or until the volume increases noticeably, checking for jiggle resistance as a physical cue instead of relying solely on elapsed hours.
Excessive spread during baking signals either weak gluten structure or over-proofing that compromised structural integrity. If the loaf flattens rather than rising vertically, assess whether the final proof extended too long, causing gas pockets to collapse before oven spring occurred. Tighten shaping technique to build surface tension and reduce the final rest period slightly in subsequent batches to preserve internal support.
Under-fermented dough presents as a short loaf with minimal rise and a compact interior texture that resists tearing. This often stems from ambient temperatures too low for active fermentation or using starter at peak vitality without allowing adequate development time. Monitor dough expansion visually; if the volume increases minimally after several hours, warm the environment slightly to accelerate microbial activity before proceeding to shaping.
Frequently Asked Questions
Can I use bread flour instead of all-purpose for sourdough?
Yes, you can substitute bread flour because it provides stronger gluten structure. The provided recipe specifically calls for white bread flour to support the dough's rise and texture.
How do I know if my starter is too acidic to bake with?
You should feed and monitor your starter; if it fails to double or triple in volume within four to eight hours, this indicates weak starter activity or a low yeast population. Note that high acidity is a separate metric often correlated with age but distinct from the lack of rise.
What should I do if my dough spreads out flat in the oven?
You need to increase surface tension during shaping and adjust your cold proofing time based on temperature; if ambient conditions are below 70°F, extend fridge time by X hours rather than relying solely on a standard duration. Using a Dutch oven is also recommended because it traps steam, preventing the crust from setting too fast.