Sourdough Starter Troubleshooting: Fixing Common Problems
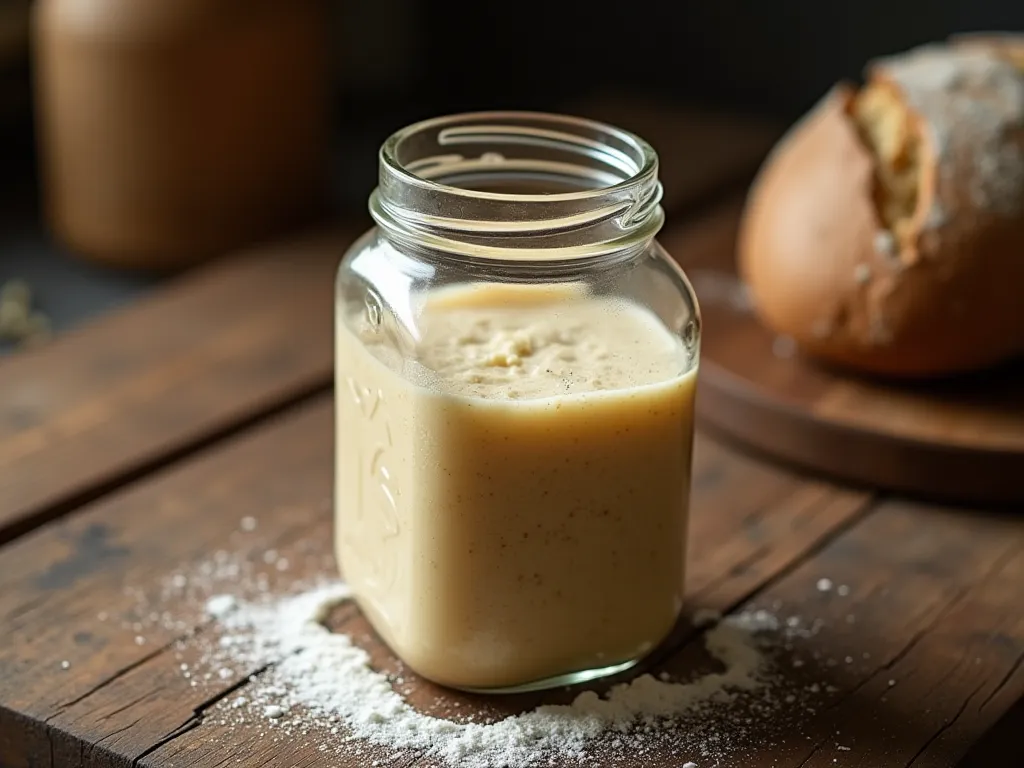
Your starter likely lacks sufficient warmth or viable yeast activity. At temperatures below 68°F, fermentation slows significantly; a healthy established sourdough starter reliably doubles within 4 to 5 hours of a feed at room temperatures between 70º F and 80º F. Verify your environment is warm enough and that you are using unbleached flour with adequate wild yeast populations.
A robust, established culture should double its volume within four to five hours of a feed at room temperatures between 70°F and 80°F. This timeframe serves as the primary benchmark for biological health. If your starter remains stagnant beyond this window, it is not merely slow; it is underperforming.
At warm room temperatures of 75°F or above, healthy sourdough starters should take six to eight hours to double in volume after being fed.
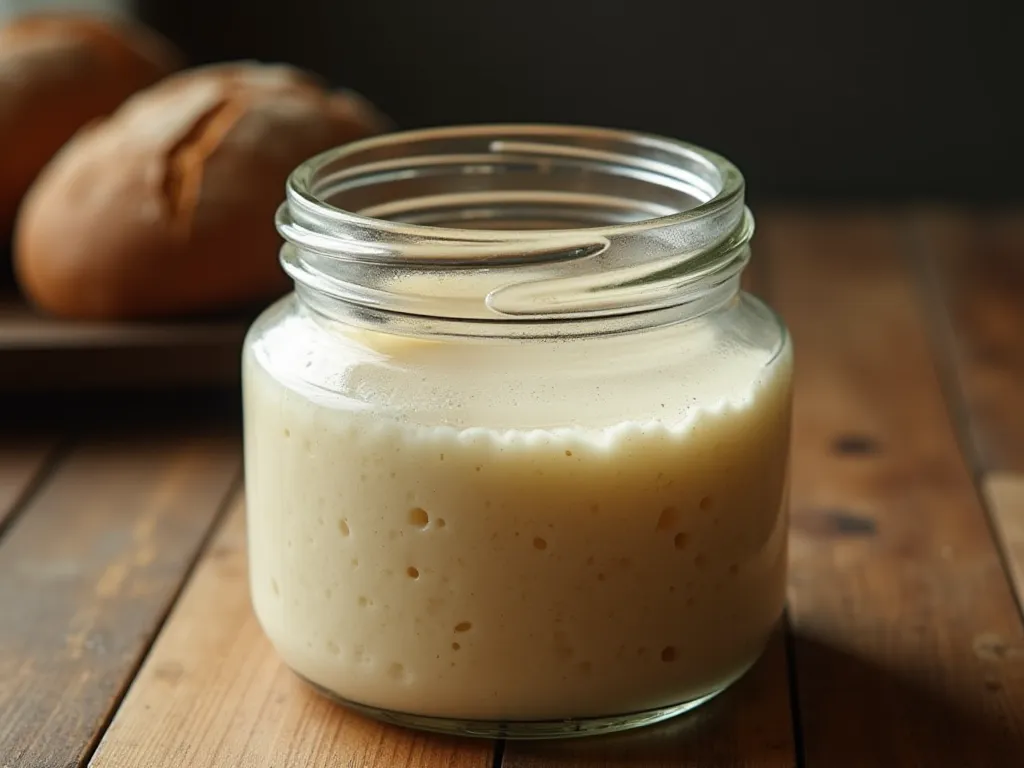
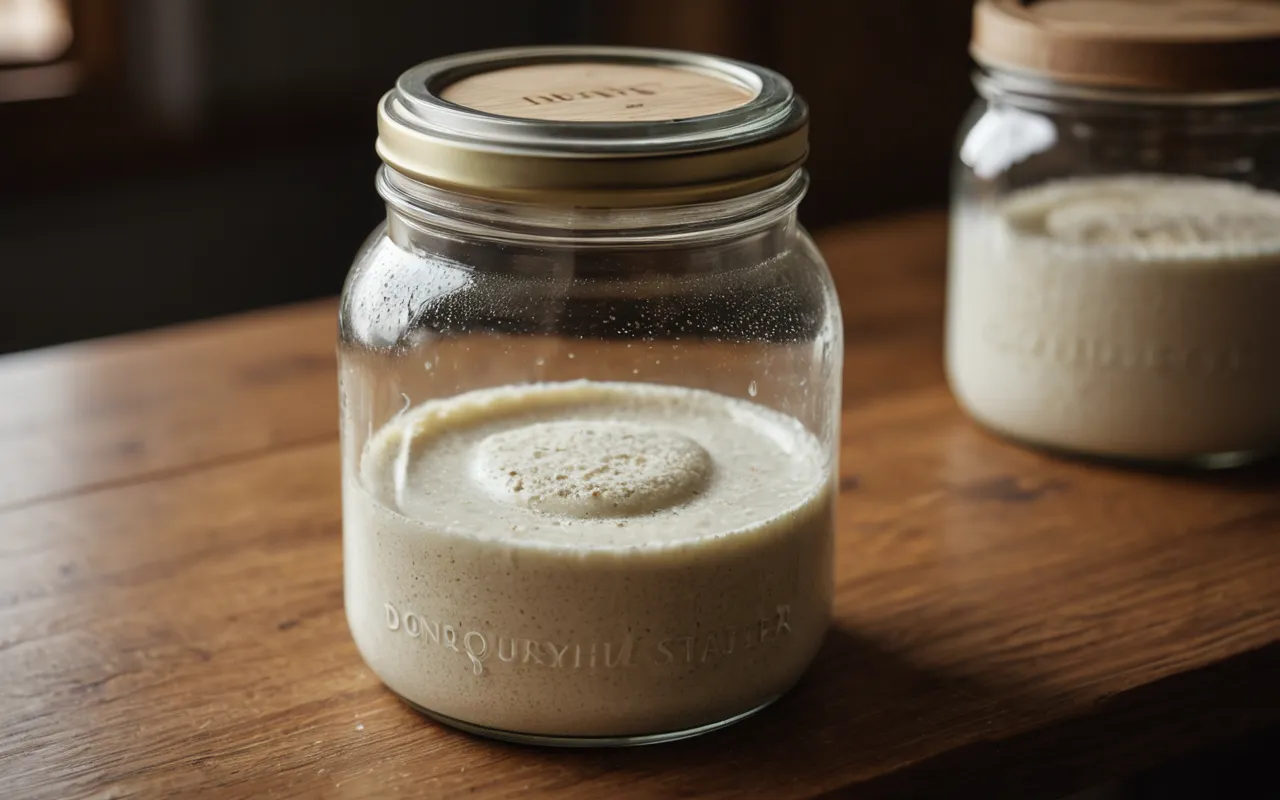
Visual cues provide immediate confirmation of this activity. Look for an active dome shape and visible bubbles throughout the mass, not just on the surface. These internal structures indicate that gas is being produced uniformly by a living culture rather than trapped superficially.
The Thermal Threshold: Why Cold Kills Fermentation Speed
Yeast metabolism responds sharply to thermal shifts, with activity roughly doubling for every 18°F increase in temperature. This exponential relationship means that a cool kitchen does not merely slow the culture down; it effectively stalls the biological engine driving fermentation. When ambient temperatures dip below 60°F, enzymatic reactions become sluggish enough that the starter appears inert, even if the microbial population remains viable.
The optimal window for consistent rising sits between 75°F and 85°F. Fermentation can take much longer when the temperature is below 68°F, leading to the stagnant appearance that often triggers unnecessary panic or aggressive feeding protocols. Maintaining this thermal baseline ensures gas production keeps pace with gluten structure development, preventing the dense, flat texture associated with under-fermented dough.
To raise the internal temperature of the starter mass without shocking the yeast, use warm water between 80°F and 90°F during each feeding. This specific range provides a thermal buffer that raises the bulk temperature safely while avoiding the lethality associated with hotter liquids. If you are building a new culture from scratch, understanding this thermal dependency is critical to establishing a reliable rhythm in those early days.
For kitchens that lack natural heat sources, placing the container on top of a refrigerator or near an oven light can provide gentle, consistent warmth. Monitor the environment with a simple digital thermometer to ensure you are hitting the target range rather than guessing based on touch. Precise thermal control is often the single most effective variable for reviving a sluggish culture.
Flour Chemistry: The Impact of Bleaching and Grain Type
The Hidden Cost of Bleaching
Bleached flour undergoes chemical treatment with antimicrobial agents like chlorine gas or benzoyl peroxide. These compounds are designed to extend shelf life and improve baking volume, but they create an environment hostile to microbial life. If your culture is stagnant despite adequate warmth, check the ingredient label on your flour bag.
Unbleached whole wheat or rye flours offer a stark contrast. The bran layer retains natural yeasts and micronutrients that feed bacteria and yeast more effectively than refined white endosperm. This biological density accelerates fermentation, particularly in new starters where the microbial population is still establishing itself.
Strategic Grain Blending
You do not need to abandon white flour entirely to boost activity. Incorporating 10% to 20% whole grain flour into a white-flour starter provides a significant nutrient boost that helps sluggish cultures recover. This ratio maintains the manageable structure of refined flour while introducing the biological fuel required for rapid gas production.
Whole grains act as fertilizer, not just ingredient.
Selecting flours with higher protein content and lower chemical interference ensures your starter has both structural integrity and metabolic energy. When choosing between two similar white flours, opt for the unbleached variety to avoid introducing inhibitors that slow down peak activity.
Diagnostic Tests: Peak, Levain, and Float Methods
The Peak Test
Mark the initial water level on your jar before feeding. Wait eight hours at room temperature. If the starter never exceeds that starting line, the culture is likely compromised rather than merely slow. A healthy culture typically doubles or triples in volume within this window under standard conditions.
The Levain Test
This diagnostic isolates metabolic activity from environmental variables. Mix a small portion of starter with fresh flour and water to create a controlled levain. Observe the behavior over four hours. If this isolated mixture fails to develop bubbles or lift, the issue is internal biology rather than external factors like ambient temperature.
The Float Method
Place a small amount of starter in water to check gas retention. Sinking indicates weak gluten structure or dead yeast activity. This test provides less reliable data for overall health assessment but offers immediate feedback on structural integrity. It confirms whether the network can hold air, which is critical for maintaining proper oven spring during final baking.
Revival Protocols: From Dormant to Active
Dilution is the first step in reviving a sluggish culture. Use a 1:5:5 ratio of starter to flour and water, measured by weight for precision. This high dilution factor flushes out accumulated acetic acid while flooding the remaining organisms with fresh carbohydrates. The sudden drop in acidity shifts the environment from hostile to hospitable, allowing dormant yeasts and bacteria to metabolize again.
Temperature consistency matters more than peak heat for revival. A room-temperature countertop often fluctuates too wildly to support steady fermentation rates. Create a stable microclimate by preheating an oven to 170º F for five minutes, then turning it off completely. Place the starter jar inside alongside a bowl of warm water. This setup maintains a steady environment between 80º F and 90º F without risking thermal shock or drying out the surface.
Commit to a strict feeding schedule during the first two days of revival. Feed every twelve hours using unbleached white flour, which offers an easily accessible energy source for stressed organisms. Bleached flours may lack sufficient protein and minerals required for robust gluten development in early stages. If the starter fails to double in volume after these forty-eight hours of consistent care, the culture is likely too compromised to save.
When revival stalls, discard all but one tablespoon of the existing mixture. This drastic reduction removes any lingering inhibitors while retaining a small seed population. Restart the process with fresh unbleached flour and warm water at room temperature. The goal is not just feeding, but resetting the biochemical balance from scratch using only the most viable cells remaining.
Monitor visual cues rather than relying solely on time intervals during this phase. Active bubbling near the surface indicates gas production has resumed. A distinct layer of liquid may form on top initially; stir it back in gently before the next feed to ensure even distribution of nutrients and organisms throughout the matrix.
Hydration Mechanics: Balancing Structure and Gas Retention
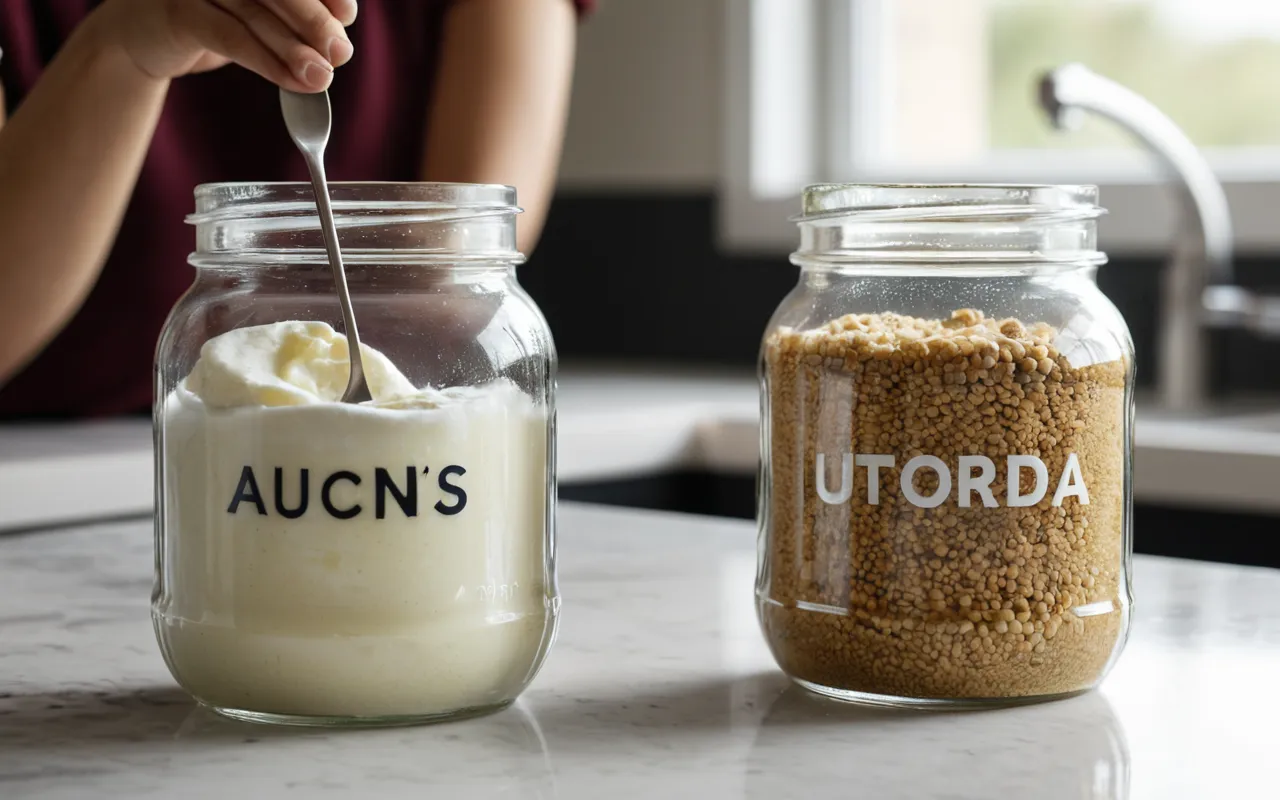
A standard sourdough starter operates best as a live fermented culture of flour and water with 100% hydration, made from equal parts regular wheat flour and water by weight (F12). This specific ratio creates a balance between ease of handling and the structural integrity required for fermentation. When you maintain this consistency, the gluten network forms sufficiently to trap carbon dioxide without becoming too dense or difficult to manage.
If your starter is noticeably thin, it likely lacks the cohesive strength needed to retain gas during peak activity. Instead of lifting the mass from within, bubbles simply escape into the air, leaving you with a bubbly but stagnant culture that never doubles in volume. This structural weakness often masks healthy microbial activity because the organisms are producing gas effectively, yet the matrix fails to hold it.
For weaker starters struggling during critical fermentation phases, adjusting hydration slightly lower can provide immediate relief. By reducing the water content marginally while keeping flour constant, you increase the density of the gluten structure just enough to trap more gas per bubble. This temporary adjustment helps build momentum and volume before returning to a standard 1:1:1 feeding ratio (F13) once stability is restored.
Frequently Asked Questions
1. How long should I wait for a new starter to start rising consistently?
Bubbles typically appear on the surface around Day #3 when creating a new sourdough starter from scratch. A healthy established culture reliably doubles within four to five hours of feeding at room temperatures between seventy and eighty degrees Fahrenheit.
2. Does the type of water (tap vs. filtered) affect starter activity?
Tap water often contains chlorine or chloramine added as disinfectants, which can inhibit wild yeast activity and slow starter development.
3. What does it mean if my starter smells like nail polish remover or acetone?
An acetone-like smell indicates high acidity or starvation (hunger) rather than death. This is a sign of over-acidification requiring dilution or feeding.
For the full overview, see making sourdough at home.
Related in this series: how to make sourdough starter at home.