How to Start a Sourdough Starter from Scratch in 7 Days
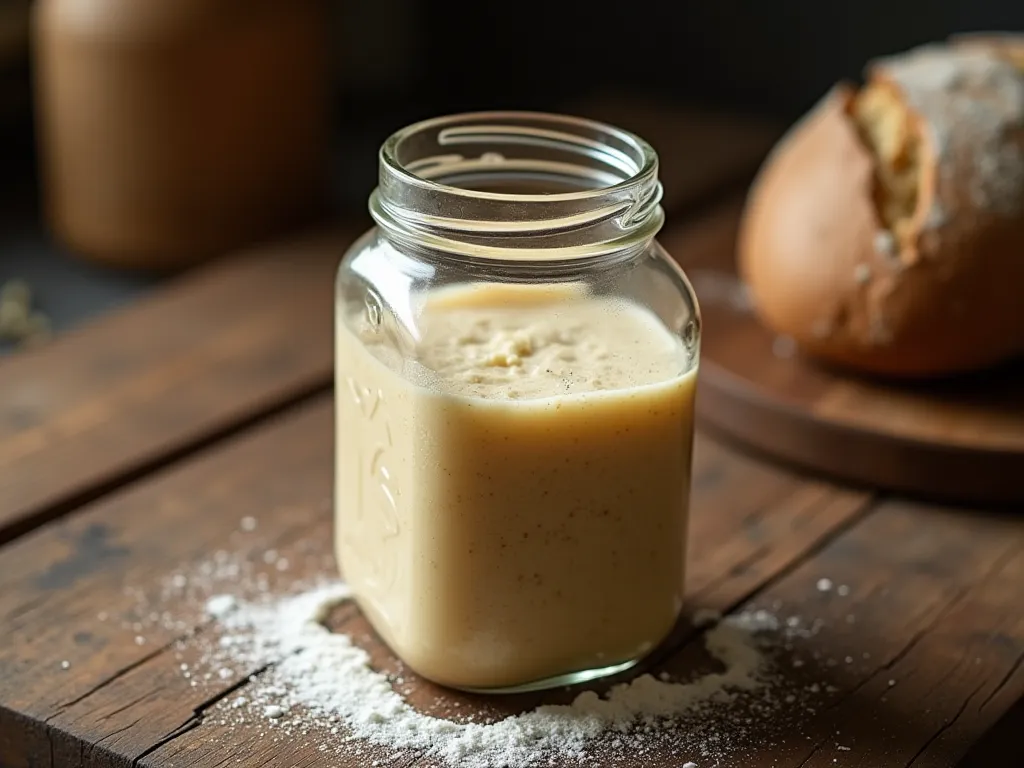
To start a sourdough starter, mix equal parts whole wheat flour and water. Let it rest at room temperature for 24 hours. From day two onward, discard most of the mixture and feed it daily with unbleached all-purpose flour and water until it doubles in size reliably.
Before adding ingredients, locate a stable spot between 75°F and 80°F; this temperature accelerates initial yeast capture without overheating the bacterial culture.
Select a vessel with at least five inches of headspace. This volume allows room for the mixture to rise during peak activity days without overflowing. Ensuring adequate space prevents container failure when expansion is rapid.
Use standard tap water unless it tastes chemically harsh. Mild chlorine levels do not significantly hinder wild culture development in most households. If the water has a strong chemical odor, let it sit overnight to dissipate volatile compounds before mixing.
Day One: Seeding the Culture with Whole Grains
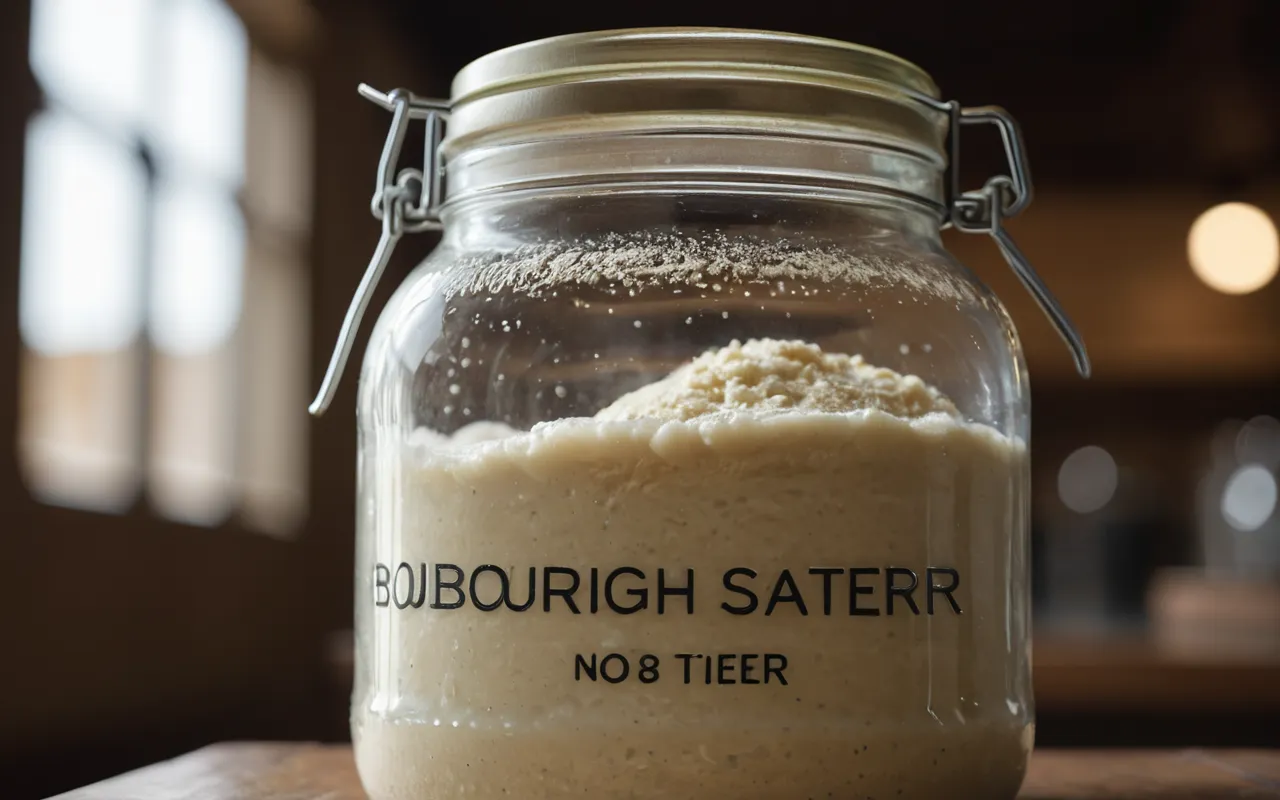
Measure exactly 60 grams of organic whole wheat or rye flour into a clean glass jar. Add 60 grams of tepid water to create an equal-weight ratio that maximizes nutrient availability for wild yeast. This specific starting volume provides enough substrate for microbial colonization without diluting the initial enzyme activity.
Stir the mixture vigorously until no dry pockets remain, achieving a thick batter consistency. This dense texture traps air effectively, creating the micro-environment necessary for early gas production. The resulting slurry should be viscous enough to coat a spoon but fluid enough to mix without lumps.
Place the jar in a warm spot at approximately 75°F (24°C) for 24 hours. Cover the container loosely with a lid or cloth to allow gas exchange while preventing mold spores from settling on the surface. This balance between ventilation and protection is critical during this initial seeding phase of home sourdough cultivation.
Days Two Through Four: Transitioning to White Flour
Day Two: The First Reduction
By the end of Day 2, discard all but two tablespoons of the existing culture. This reduction is critical because it removes excess acidity and prevents the starter from becoming too dense to feed effectively. Add fresh ingredients immediately after discarding to maintain the microbial population.
From Day 3 through Day 7, maintain this two-tablespoon base by feeding it daily with ½ cup (60 g) of flour and ¼ cup (60 g) of water. Consistency in volume matters more than the specific brand of grain during these transition days.
Shifting to Refined Flour
Introduce unbleached all-purpose or bread flour starting Day 3. Whole grains contain bran that interferes with gluten development and traps acidity, which can inhibit the rise of a young culture. Switching to refined flour reduces this load while providing starch for fermentation.
The goal is to improve gluten structure as the starter matures. This shift prepares the dough for the mechanical action required in later baking stages, ensuring the final loaf has sufficient elasticity and strength to hold gas during proofing and oven spring.
Observing Early Signs
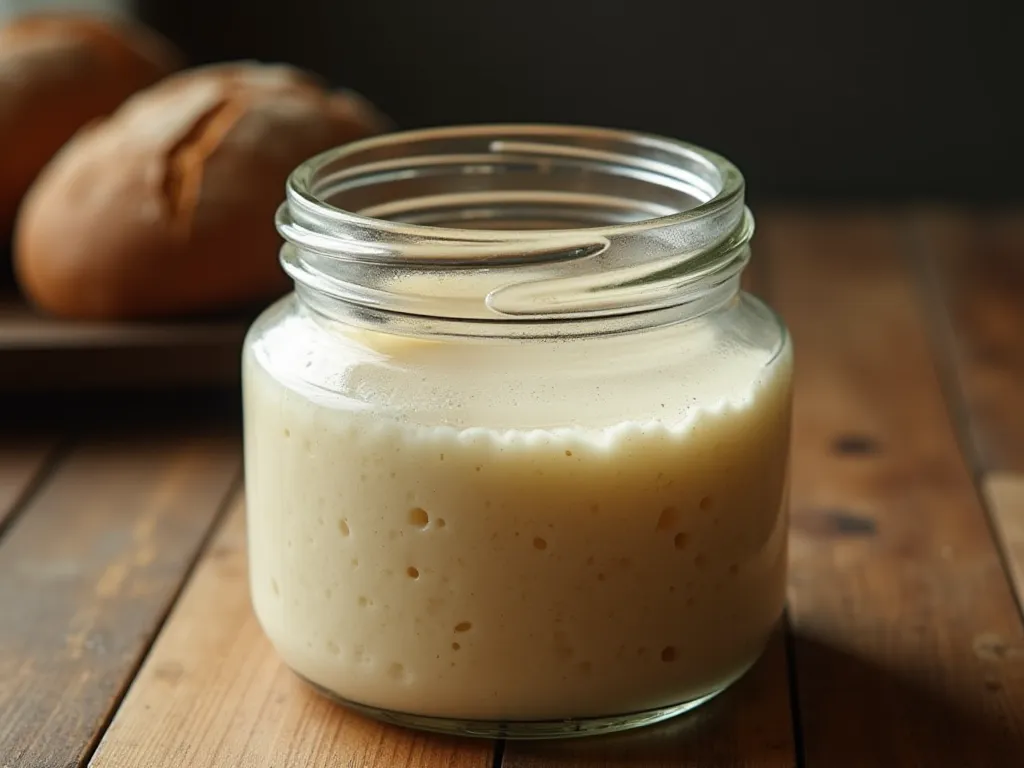
Look for small bubbles forming in the liquid portion of the mixture. These visual cues signal that lactobacilli are beginning to produce carbon dioxide efficiently. If no bubbles appear by Day 4, check your temperature calibration and ensure you have not over-diluted the culture.
The liquid may also develop a slightly tangy smell as acids accumulate. This is normal during the transition from whole grains to white flour. Do not discard the starter based on odor alone unless it smells rotten or shows pink discoloration.
Days Five Through Seven: Achieving Peak Activity
By day five, the culture requires increased energy to stabilize its acidity and strength. If your kitchen temperature hovers below 75°F, shift to a twice-daily feeding schedule. This extra nutrition prevents the yeast from stalling while it builds the necessary biomass for baking.
Do not rely on surface bubbles as your sole indicator of readiness. A truly active starter must double its total volume within four hours of feeding to be considered ready to use. This specific rise time confirms that the microbial population is robust enough to leaven dough reliably.
Inspect the physical structure before you commit to a bake. The surface should form a distinct dome rather than collapsing flat, indicating internal pressure from gas production. When you stir the culture, observe an open, honeycomb-like interior with uniform pockets of air.
If the starter fails to reach this peak state by day seven, it is not yet ready for baking. Continuing to use a weak culture will result in dense loaves and unpredictable fermentation times. Maintain the feeding routine until these specific visual and temporal markers are consistently met.
Diagnosing Stalled or Over-Fermented Starters
A dark liquid pooling on the surface signals that yeast has exhausted all available nutrients. This substance, known as hooch, indicates a hungry culture rather than spoilage. Pour it off immediately before introducing fresh flour and water to reset the fermentation cycle.
If the mixture remains flat after 48 hours of feeding, ambient temperature is likely suppressing microbial activity. Relocate the jar to a warmer spot, such as an oven with only the light switch engaged. This passive heat source provides a stable environment without risking thermal damage.
Persistent stagnation despite temperature adjustments often points to water chemistry or extreme cold. Chlorine in tap water can inhibit wild yeast capture, so use filtered or bottled water for all feedings. Additionally, ambient temperatures below 65°F significantly slow metabolic processes, extending the time required for visible rise.
Maintaining Your Starter for Long-Term Baking
Once the culture is stable, shift to a once-daily feeding schedule if you bake regularly. Discard most of the existing starter, keeping only a small base from the previous batch to inoculate fresh flour and water. This routine takes about five minutes of active maintenance time per day.
For infrequent bakers, store the jar in the refrigerator to slow metabolic activity without killing the yeast. Remove the starter two hours before you plan to use it and feed it twice at room temperature. This double feeding revives the culture quickly enough for immediate baking needs.
Frequently Asked Questions
Can I use rye flour for the entire seven-day process instead of switching to white?
You can use rye flour throughout; once established, maintaining about 30% whole rye in your feedings supports fermentation while keeping acidity manageable.
What should I do if my starter smells like nail polish remover on Day 3?
You should discard all but two tablespoons of the existing culture and feed it fresh flour. This strong smell indicates high acidity from accumulated byproducts that need to be removed. Regular feeding with new ingredients helps balance the pH and restore a healthy environment.
Is it necessary to discard the starter every single day, or can I skip a feed?
You should discard most of the culture daily during the initial week to manage volume. Skipping feeds allows acidity to build up, which can inhibit yeast activity and stall fermentation. Consistent feeding ensures the starter remains active and reaches peak readiness within seven days.
For the full overview, see sourdough bread at home.
Related in this series: why is my sourdough starter not rising.